
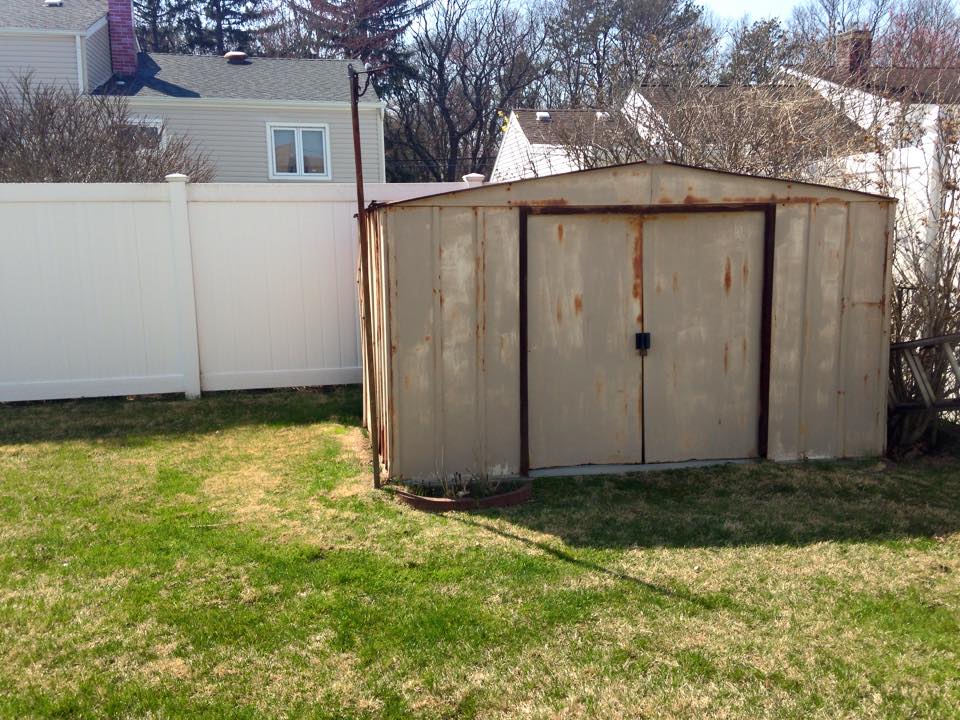
The backyard got a much needed facelift and we replaced our old dingy tin shed (which God bless it because it lasted a few decades and housed quite a few raccoons and other critters towards the end), with a brand new Rubbermaid (or as I like to call them– Playskool) Shed.
This isn’t really a tutorial, but just a confession that even when you are doing it yourself– you are going to have splurge once in a while. Although the shed was pretty expensive, we considered it an investment and a cost we had to make. We did decide to downsize the shed from 8×10 to 7×7 to save a few bucks.
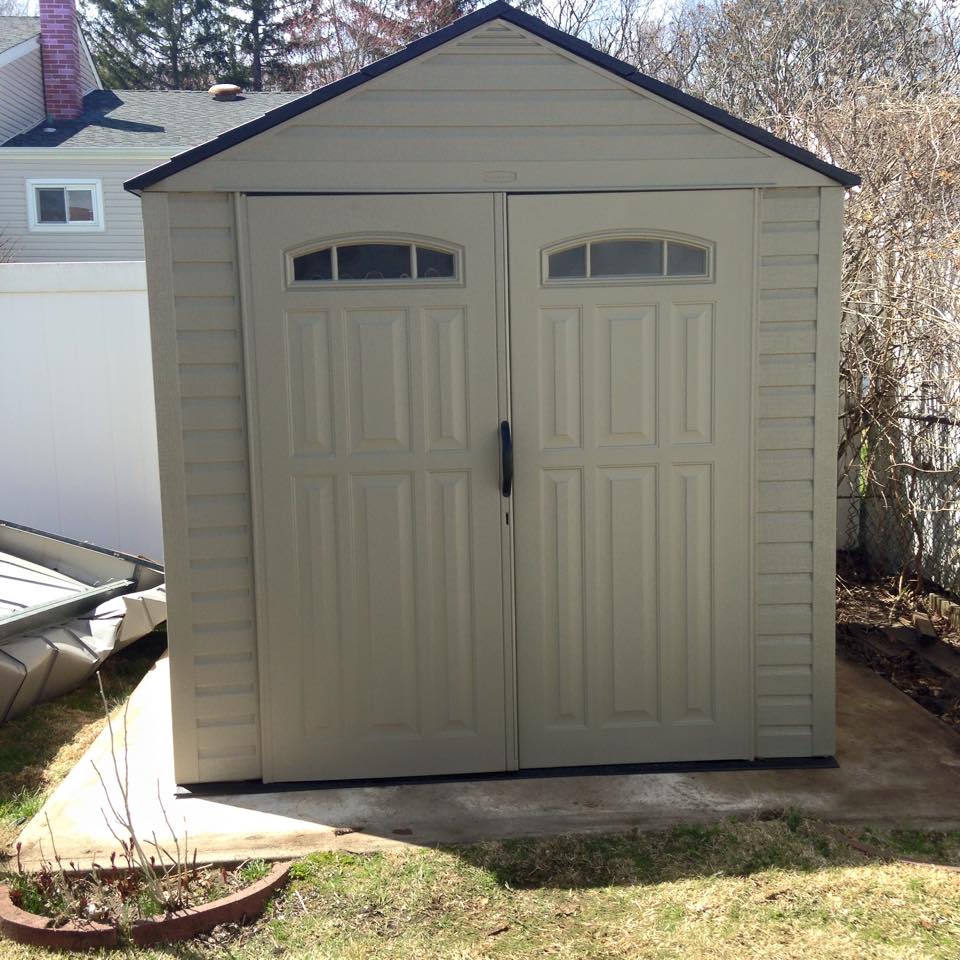
But look how much of a difference it makes!! The shed we picked out is a Rubbermaid Roughneck XL*. We love it! Easy to put together, water tight, has (tinted) skylights to let light in. The assembly took about 1/2 a day. It’s a follow the instructions type of thing, follow them and you’ll do it right the first time. Ignore them and you probably will wind up having to start all over (SWALLOW YOUR PRIDE FELLAS!)
*Yes, I know the shed is discontinued. I did a lot of research before purchasing and wound up buying it from Ebay where they FREIGHT shipped it to my house for free. Loews and Home Depot had similar models but I would have had to rent a truck or pay for shipping and I would have spent more.
NOTE: (I was not paid by Rubbermaid to promote their product, nor did I receive this shed or any similar gift, for free. BUT if you are a representative from Rubbermaid, feel free to send me free products).
